Subscribe/Unsubscribe Pages
In this article, you will learn how to create your own branded Subscribe/Unsubscribe or Fallback Page that matches the design of your website.
IMPORTANT: Allowing your contacts to unsubscribe ensures compliance with GDPR, the CAN-SPAM Act, and other anti-spam laws and maintains a good sender’s reputation.
There are 4 Page Types in this section:
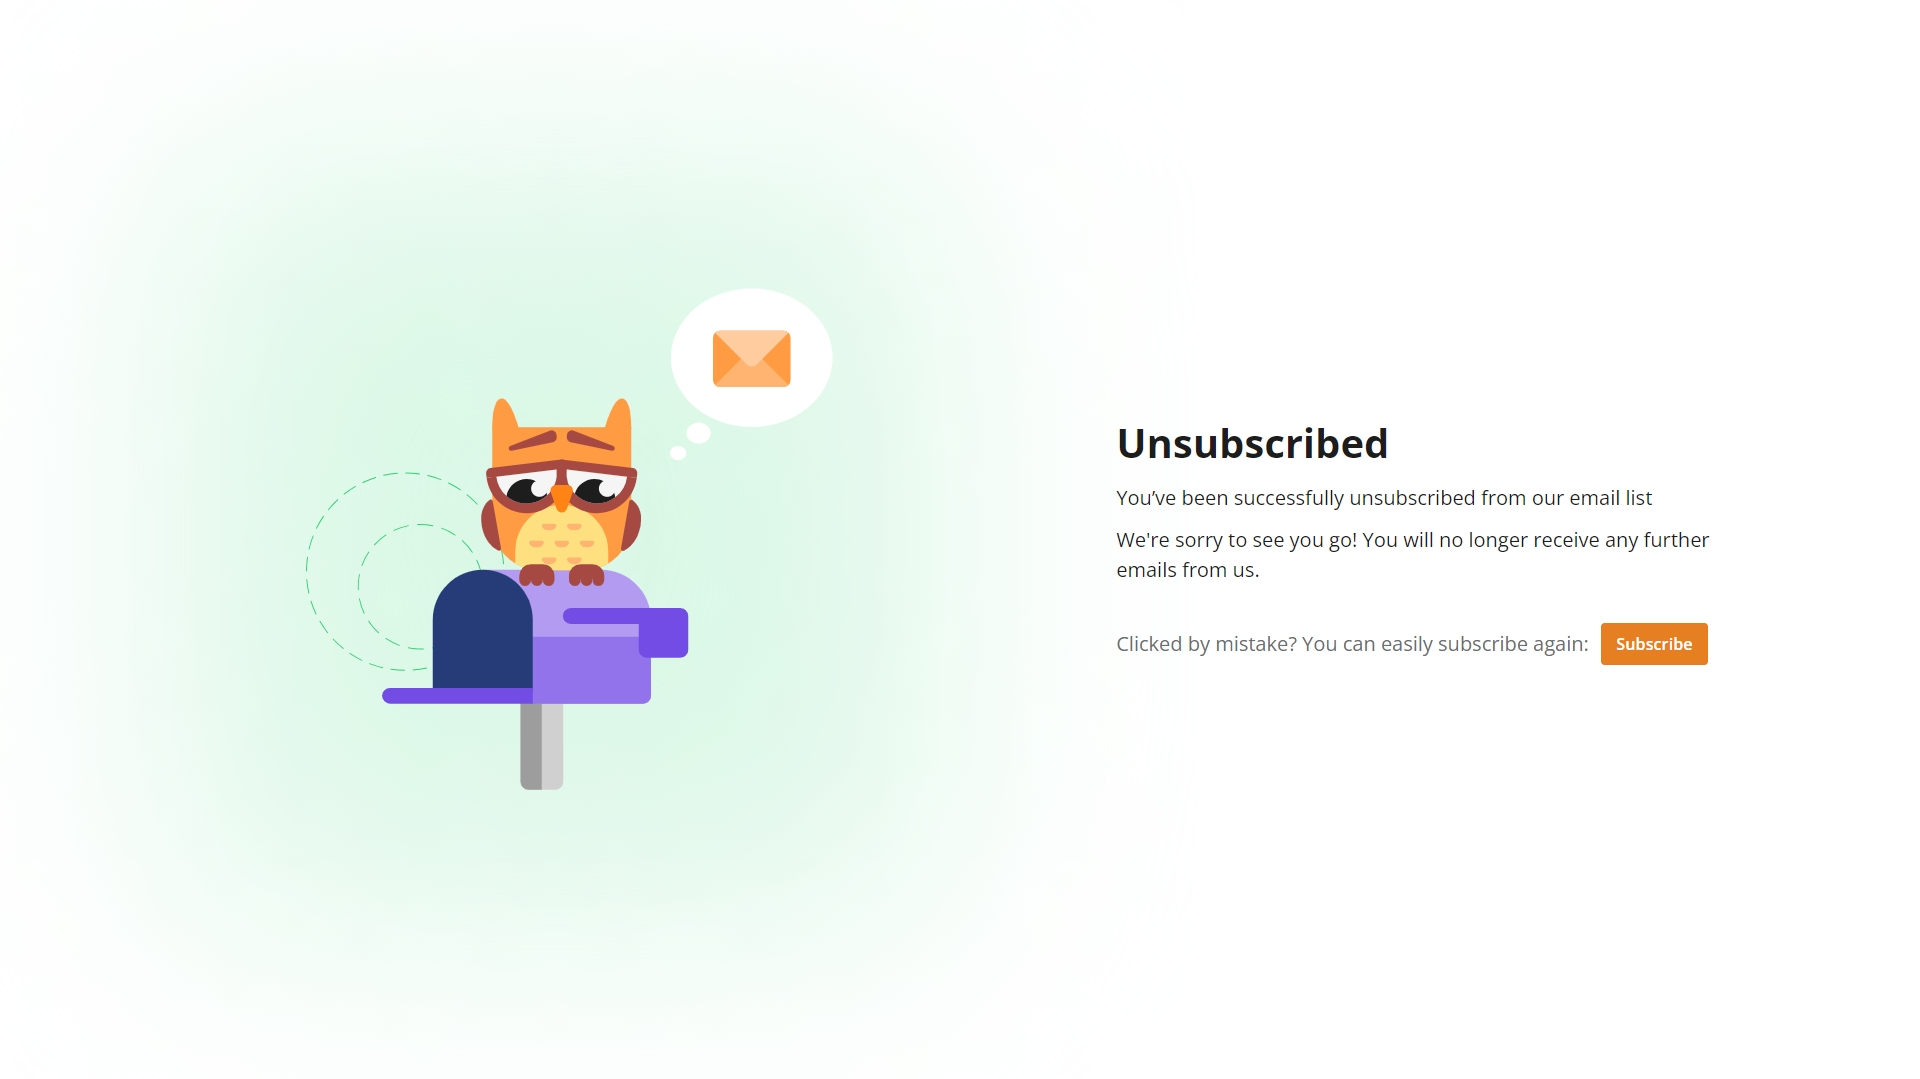
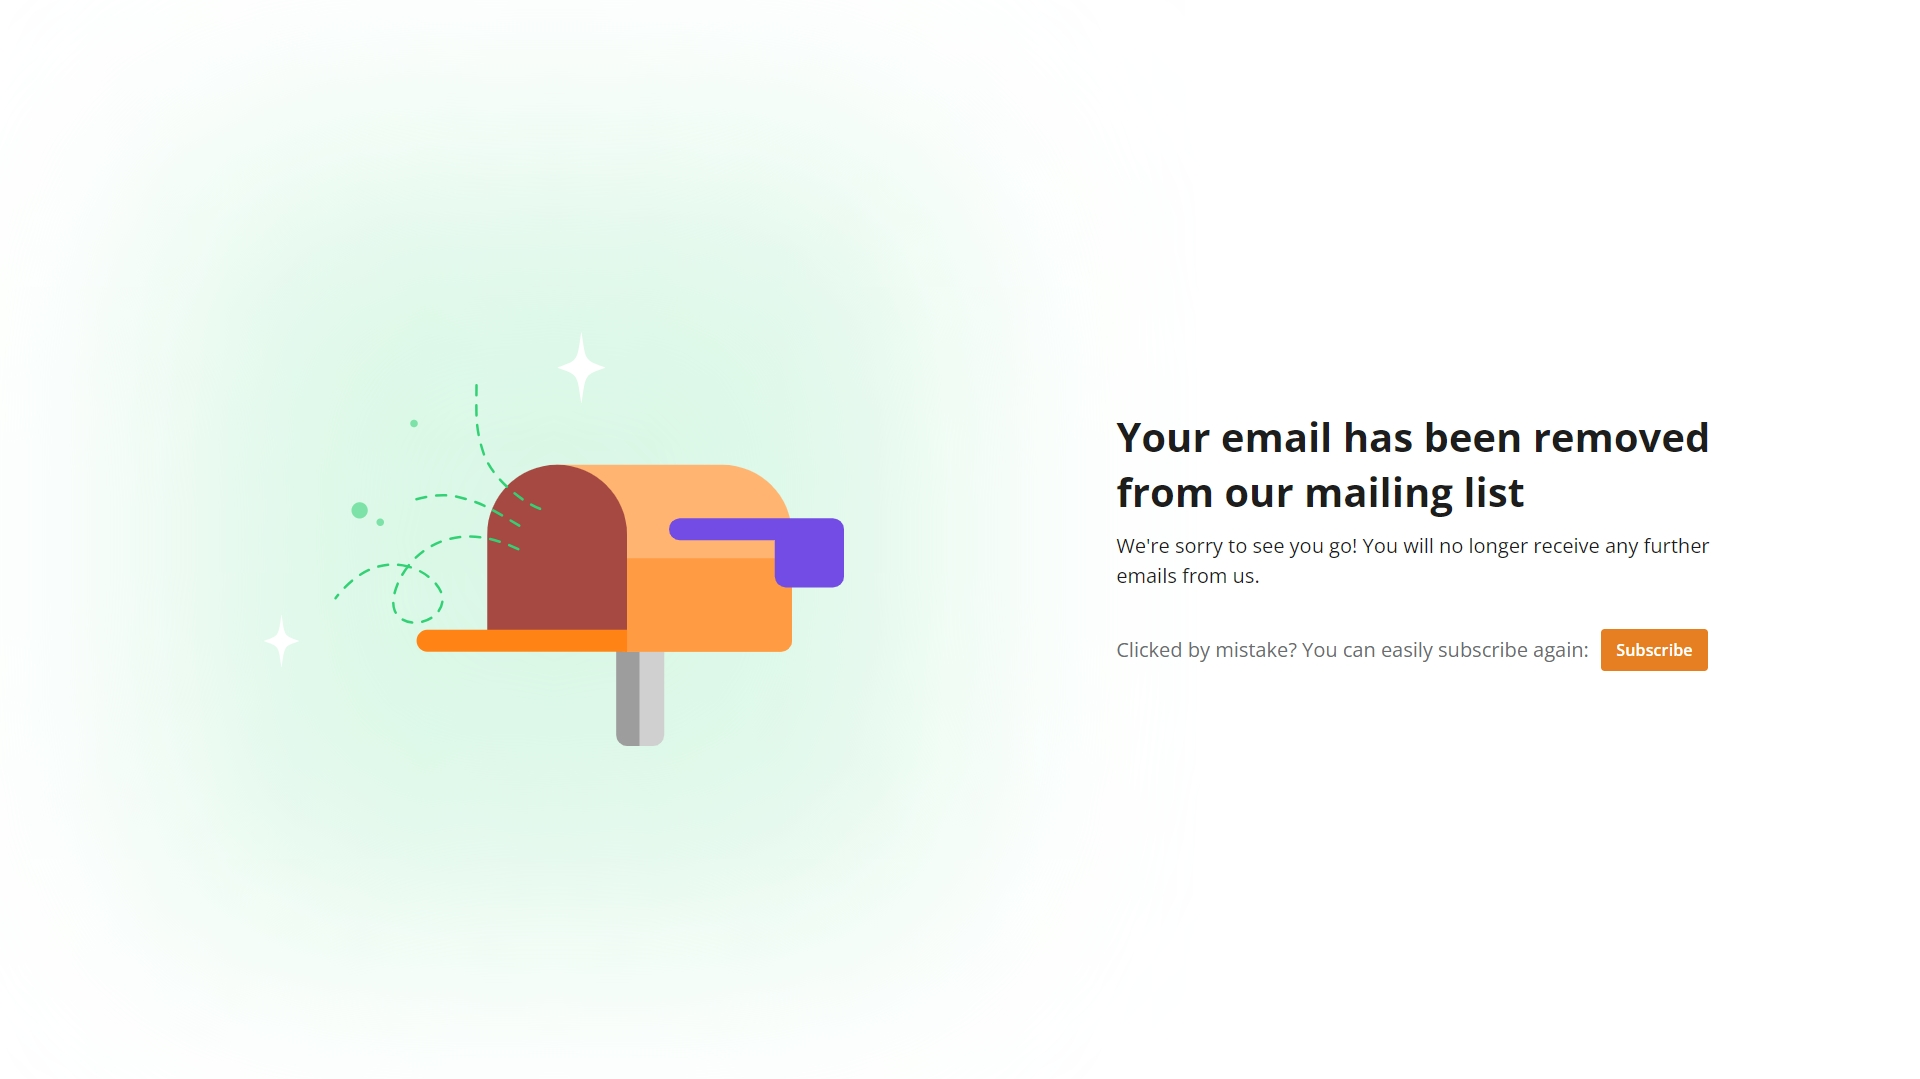
Unsubscribe Page — a web page that appears when a user clicks on the unsubscribe link in an email, usually located in the template’s footer.
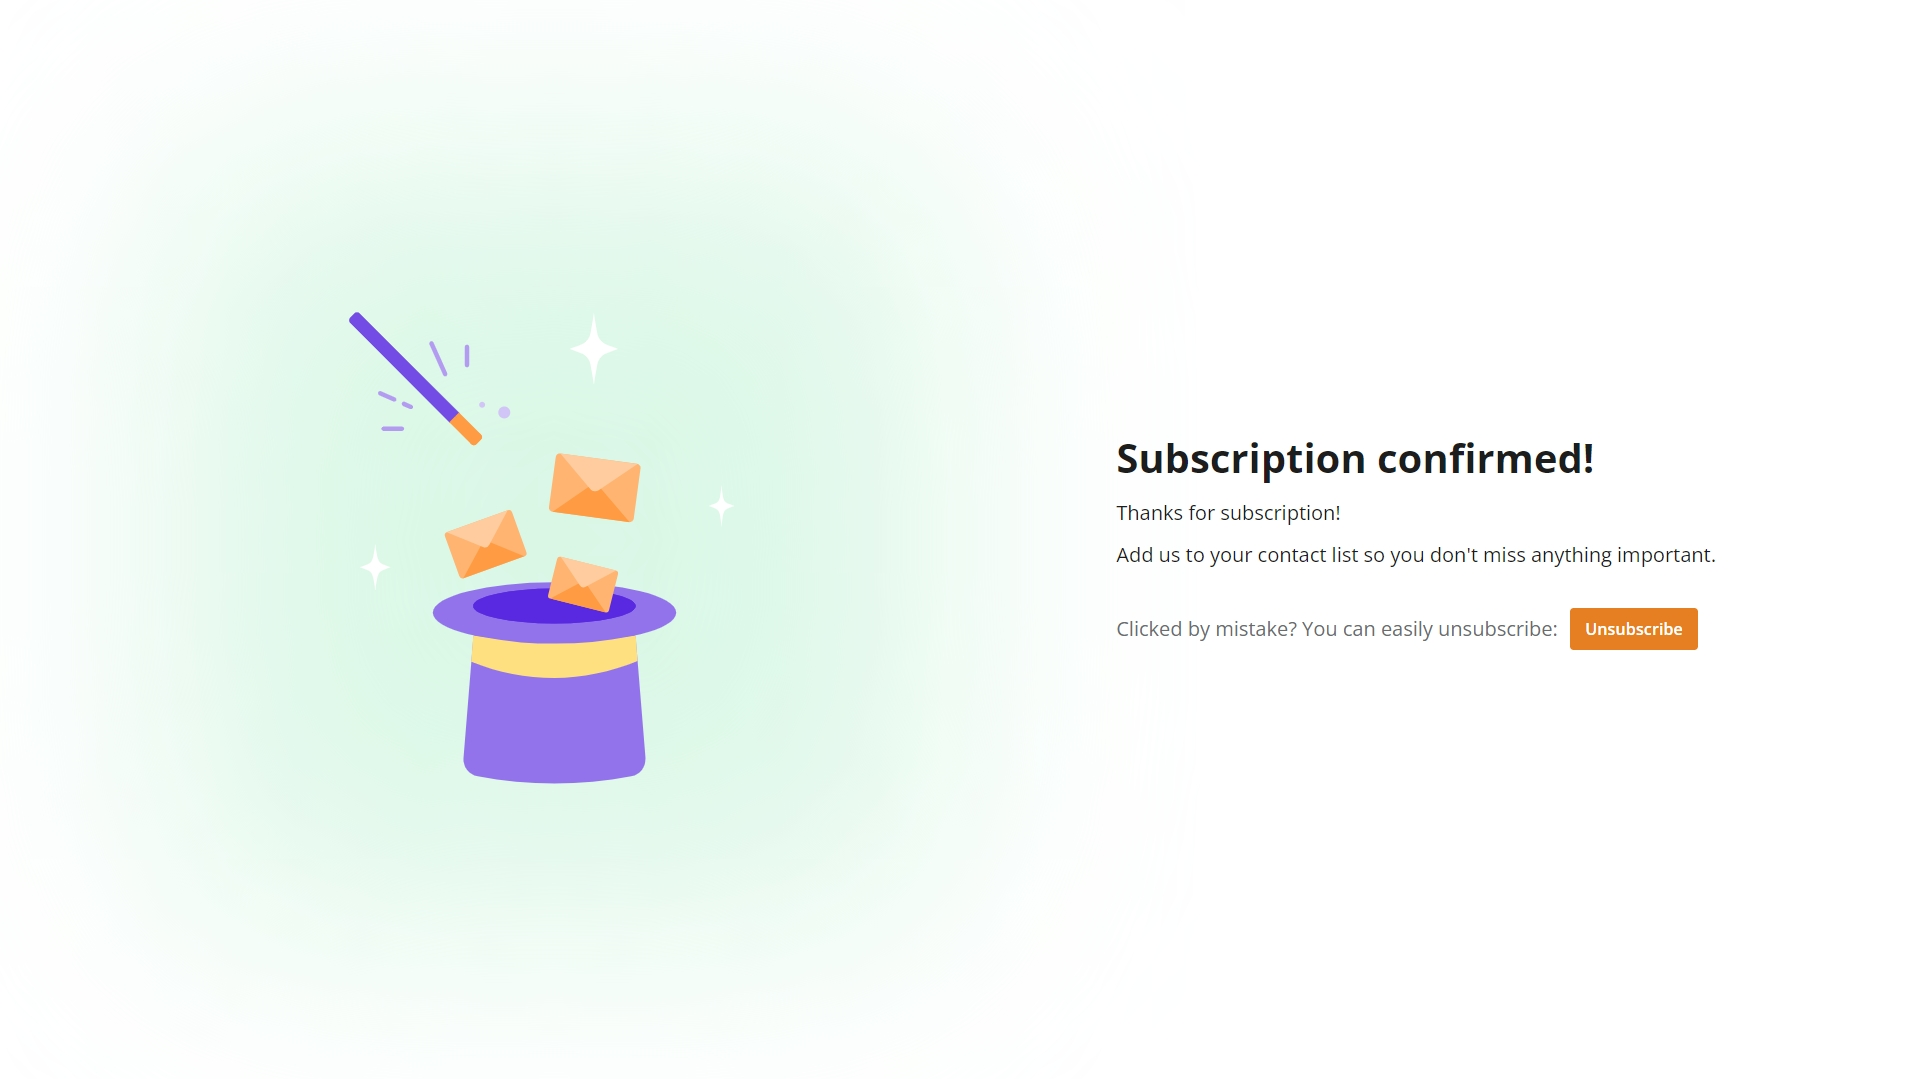
Subscribe Page — a web page where the subscriber goes after filling out the subscription form.
List-unsubscribe Page — a web page created for another unsubscribe mechanism called the “List-unsubscribe header.” It is an additional unsubscribe link generated by leading email providers such as Gmail, Outlook, and others.
Fallback Page - a placeholder web page that the Wooxy system will use if there's a broken link in your template. You can either add your own page using the editor or redirect to a specific page of your choosing.
Things to know before you start:
- Standard Subscribe and Unsubscribe Pages are available by default with a neutral design.
- When you create and enable your own custom Subscribe and Unsubscribe Page, it will be used as a primary when the user clicks the corresponding link in the email.
- If you delete your custom Subscribe or Unsubscribe Page, our default Pages will be automatically activated.
- IMPORTANT: You need to set up a separate custom Page for the List-Unsubscribe mechanism.
- Pages of the same type cannot function at the same time.
- If you configure a subscription via the Redirect URL option and place {{unSubscribeUrl}} or {{subscribeUrl}} on your page outside the Wooxy platform, our system variables will not work, and you will need to implement a subscription on your side.
- IMPORTANT: The {{subscribeUrl}} and {{unSubscribeUrl}} system variables do not generate corresponding links if the email is sent through the preview function.
- If a contact is unsubscribed from the Email channel, they will not receive any communication through this channel. This applies to all current methods in use: the Preview function, Automations, Campaigns, A/B tests, and API methods.
- You cannot create a separate unsubscribe page for a specific Template, Segment, or for a specific contact in Wooxy. The Unsubscribe Page is unique for all.
Set up a custom Subscribe/Unsubscribe/List-Unsubscribe Page/Fallback Page.
Step-by-step instructions:
Navigate to the appropriate section (Menu -> Settings -> Unsubscribe page).
Press the “Add New Page” button.
Choose one of the three options:
- Drag & Drop editor
- Your own HTML
- Redirect URL
Create the Page you desire and save the changes.
Drag & Drop editor
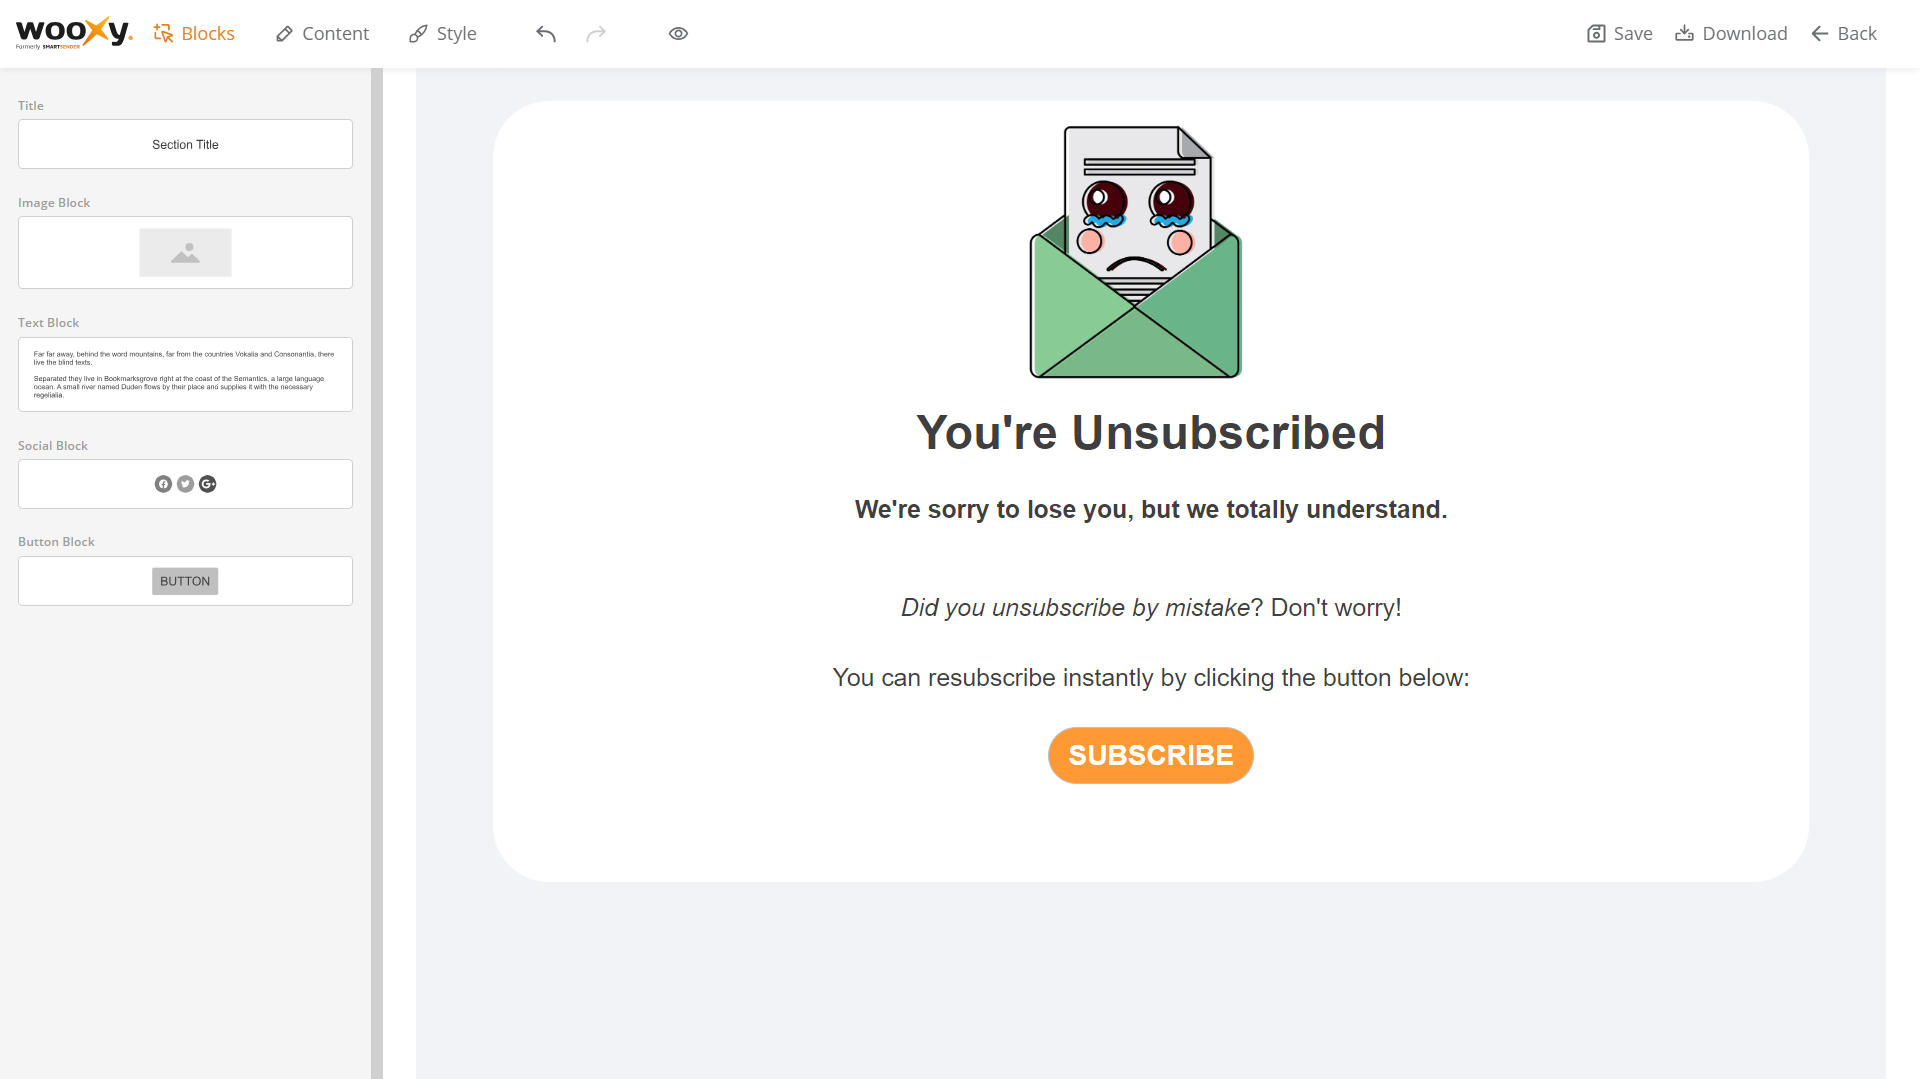
Drag content blocks to create the layout you want. Insert your text and images. Choose a color theme or create your own style. Name your Page, select the Page type, and save the changes. Tap on the eye icon to open the page preview. Here, you can check how the Page will be displayed on different devices.
Your own HTML
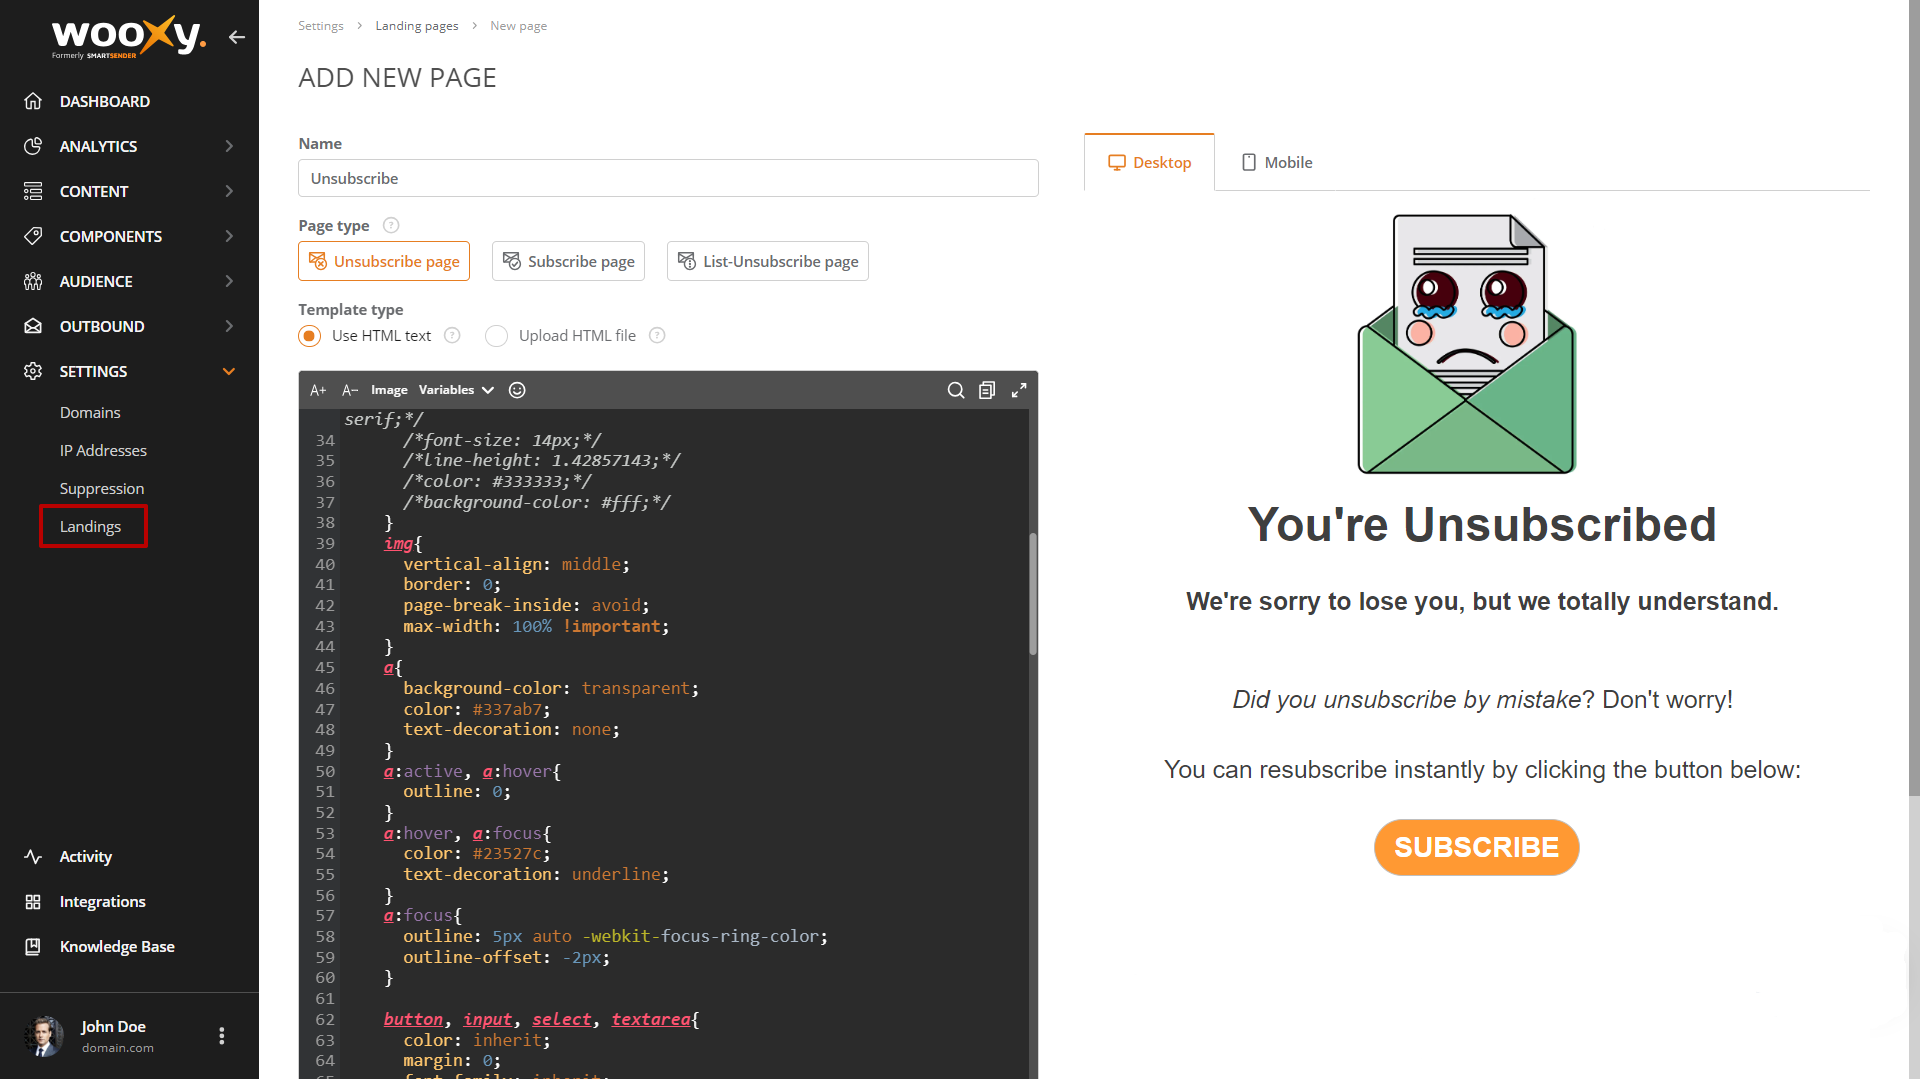
Write or import your own HTML (this one is for experts)
Use HTML text – Just put the HTML code of your Subscribe/Unsubscribe Page into our editor.
Use HTML file – Or you can upload a file with your Subscribe/Unsubscribe Page.
Name your Page, select the Page type, and save the changes. The preview function will automatically be generated on the right side of the page. Here you can check how your Page will be displayed on both: desktop and mobile devices.
Redirect URL
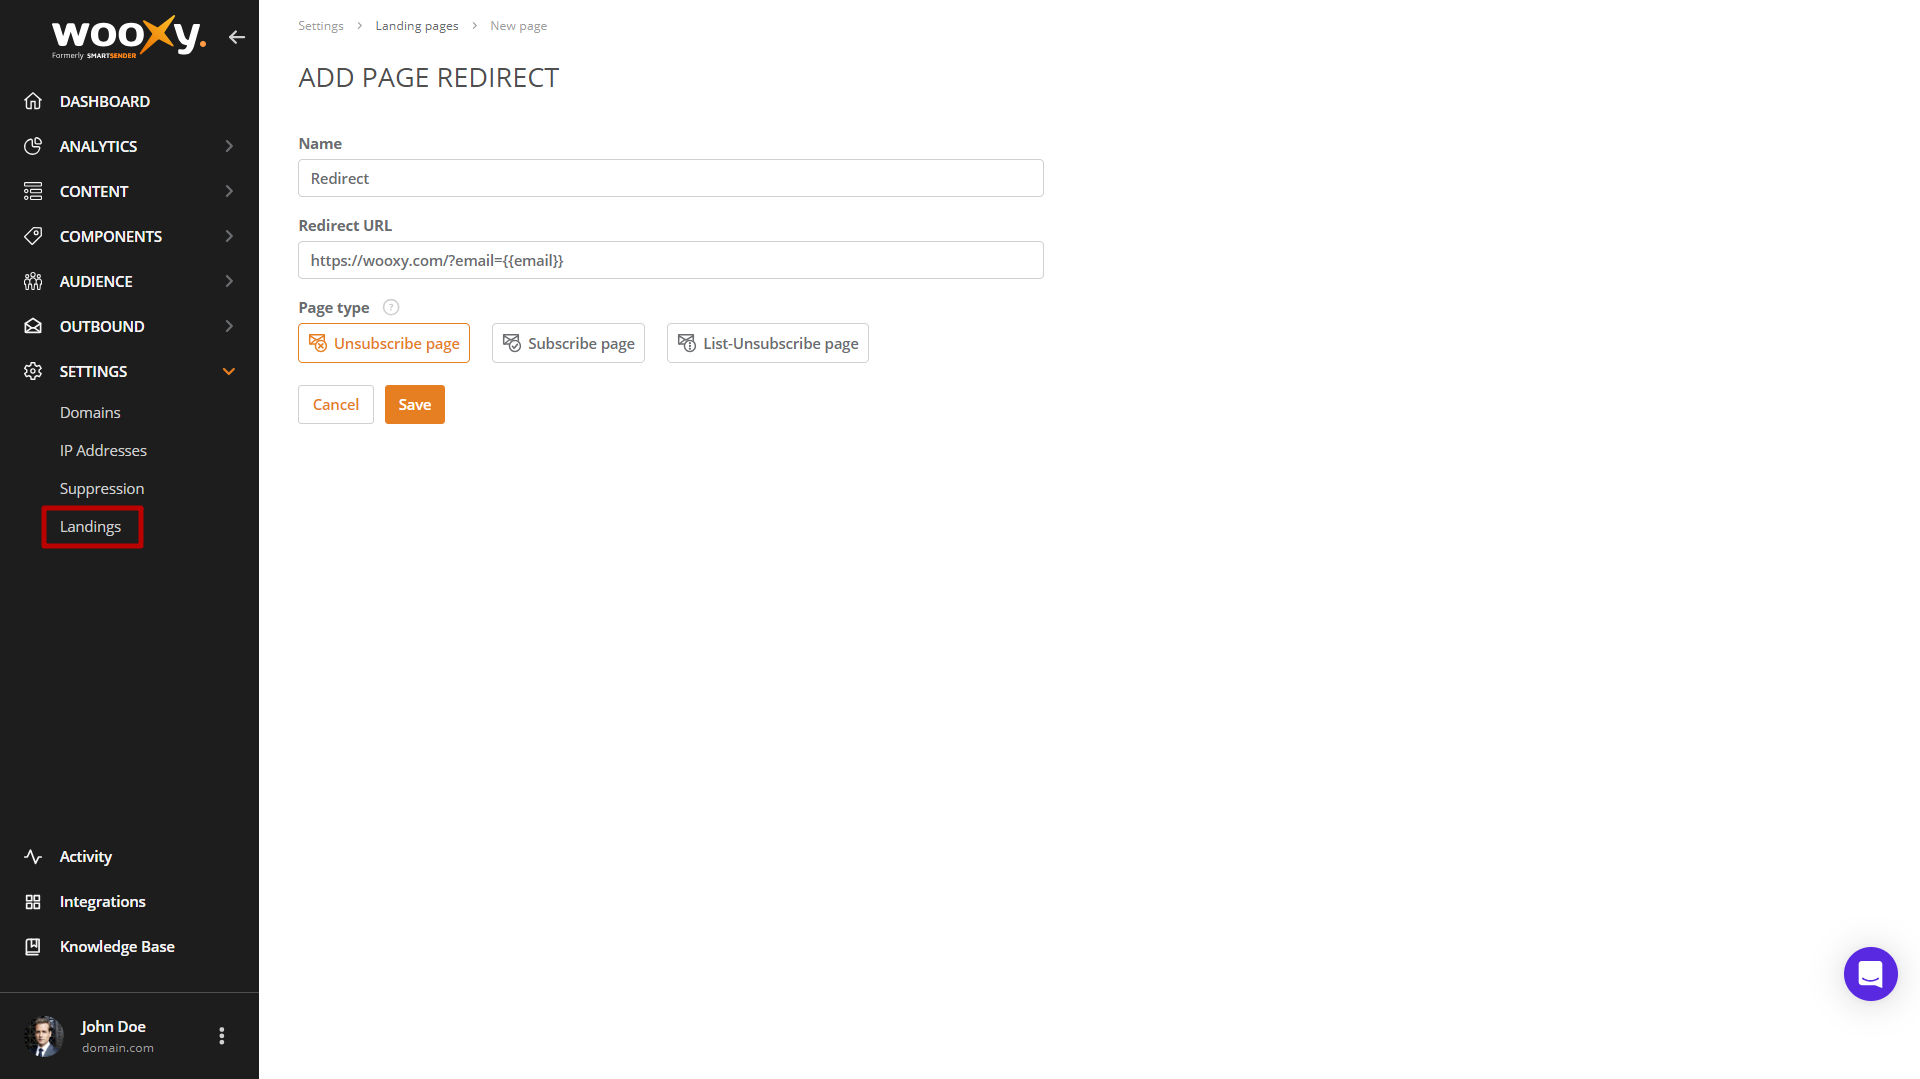
A redirect URL Page serves as an intermediary that automatically forwards users to the webpage you provide. Name your Page, specify a link to the site to which the contact should be redirected after clicking the Subscribe/Unsubscribe button in the email, select the Page type, and save the changes.
How it works
In Wooxy, we automatically generate subscribe and unsubscribe links for your audience.
IMPORTANT: Always include an unsubscribe link in your email campaigns.
Here, we will guide you on how to implement this feature.
Place variables in your Templates, and Wooxy's system will generate appropriate subscribe or unsubscribe links correspondingly after the email is delivered to the recipient.
| {{unSubscribeUrl}} | Use this variable to provide your contacts with a way to unsubscribe from the Email channel. The contacts will be unsubscribed only from the Email channel in the Contact List; subscriptions to other channels will not be canceled. IMPORTANT: If the same email address is also placed in another Contact List, they still can receive communication through the Email channel. |
| {{subscribeUrl}} | Use this variable to provide your contacts with a quick way to resubscribe to the Email channel. |
2 ways for a contact to unsubscribe from the communication receiving:
The contact clicks on the unsubscribe link generated using our variable {{unsubscribeUrl}} (for example, in the email footer), and the contact unsubscribes from the Email channel in the Contact List. If necessary, the contact can subscribe again, no matter if you provide the option to do so, for example, through a button on the website, notification settings, etc.
IMPORTANT: We do not recommend subscribing contacts to newsletters from which they have opted out without their request. This can negatively impact the domain's reputation due to complaints. The contact does not go into the blacklist after pressing on such an unsubscribe link. This unsubscribed contact can be resubscribed through the API or automation.
The contact unsubscribes through the list-unsubscribe mechanism, which acts as an unsubscribe request through the email service (for example, Gmail). This means that if you start sending to that contact again, the domain's reputation will decline. Such contacts are added to our blacklist with the "list-unsubscribe" status. To resume sending to such a contact (for example, at the contact's request), he must be previously removed from the blacklist. Gmail is responsible for displaying the unsubscribe button through the List-Unsubscribe mechanism on its service. This button is generally displayed for domains with a good reputation.
To make unsubscribe work, you need to include the following variable in your template {{unSubscribeUrl}}. You need to add a link to the template, that is, add a <a> tag.
Here’s an example:
<a href="{{unSubscribeUrl}}">unSubscribe</a>
When a subscribed contact clicks the unsubscribe link in your campaign, it means they no longer wish to receive further communication via this channel. However, we understand that mistakes can occur, so we've provided a way for contacts to resubscribe.
To prevent accidental unsubscribes, there's a resubscription step when a customer clicks the unsubscribe link in your emails. For instance, if a customer clicks the unsubscribe link in your marketing email's footer, they'll be directed to your unsubscribe page. Here, the contact can choose to subscribe again.
Alternatively, you can include a subscribe link in your marketing email. This way, even if the contact has unsubscribed from your campaigns, they can easily alter their status by clicking the provided link.
In the Redirect URL block, you can specify a link to the site to which the contact should go after clicking the Subscribe or Unsubscribe button in the mail, as well as the condition ?email={{email}}, which will display the mail of the subscribed/unsubscribed contact in the address bar.
Thus, the contact, after clicking on the Subscribe or Unsubscribe button on the mail, will get to your site with the email parameter, by which you can identify the contact and information with individual offers for the contact can be placed.
Example:
https://app.wooxy.com/?email={{email}}
Result:
https://wooxy.com/?email=example%40domain.com
When you configure the unsubscribe process via the Redirect URL option, the contact clicks on the unsubscribe link (generated with the help of the {{unSubscribeUrl}} variable) in the received email. The Wooxy unsubscribes the contact and redirects him to the page you mentioned in the Redirect URL Page settings. IMPORTANT: If you place {{unSubscribeUrl}} or {{subscribeUrl}} on your page outside of the Wooxy platform - they will not work for subscribing or unsubscribing your contacts. You need to organize contacts subscription or unsubscription on your side in that case.
{{subscribeUrl}} and {{unSubscribeUrl}} system variables work only:
When sending through Campaigns.
When sending through Workflows.
When sending through A/B tests.
When sending through the Send Triggered Email API method.
IMPORTANT: The links aren’t automatically generated then you send the test email via the Email Preview function.
Manage your subscribe /unsubscribe page
You can find the list of your Pages in the “Unsubscribe Page” section (Menu->Settings->Unsubscribe page).
Mark the checkbox next to the desired Page row to make the Delete Page button appear. If you want to delete all pages on the current screen, check the box at the top of the Pages list. Alternatively, you can delete a page by clicking the trash bin icon on the right side of the page row.
You can easily find a certain Page by name in the “Search” field.
Click on the thumbnail to open the Page preview if the Page was created using the "Drag & Drop" or "Your own HTML" editors. Here you can check how your Page will be displayed on both: desktop and mobile devices. Tap on the thumbnail for the redirect Pages to check to which site the contact will be redirected after clicking the corresponding link in his email.
The “Status” column displays which Pages are currently active. IMPORTANT: Multiple Pages of the same type cannot work simultaneously.
The "Name" column shows each page's name and creation date. You can edit and optimize the desired page by clicking on its name. IMPORTANT: Remember to save any changes before leaving the edited Pages. Additionally, you can sort all Pages by name in this section.
The “Type” column displays the type you assigned to each page: Subscribe, Unsubscribe, or List-Unsubscribe.
The “Info” button displays the following information:
| Type | The type of the Page: Subscribe, Unsubscribe, or List-Unsubscribe. |
| Status | Indicates if the Page is active or not. The status “Disabled” means that the Page is not active, while the status “Enabled” indicates that it is currently active. |
| Name | The name of the Page. |
| Creation date | The creation date of the Page |
| Editor | Displays the editor you used for the Page creation: Drag & Drop, Your own HTML or Redirect URL |
The Wooxy default Pages
If you delete or disable your custom Subscribe or Unsubscribe Pages, our default Subscribe/Unsubscribe Pages will automatically activate.
Without a custom Unsubscribe Page, the default one will automatically link to the unsubscribe link in the footer of your Email Template. However, we strongly recommend using a custom unsubscribe page to align with your recipients' language and your branding.
