Contact List Segmentation
Take advantage of our straightforward feature to create dynamic segments. Simply set your criteria for a targeted Segment, save it once, and enjoy real-time updates whenever you need to engage your audience via Campaigns, Automations, etc.
Segmentation makes it easy to send people content they care about. Subscribers can be included in specific Segments based on various behavioral triggers, and you can use these Segments to send automatic scenarios or promo Campaigns when you’re ready to send.
You can segment your Contact List according to your subscribers’ geographic and demographic data, age, sex, behavior, actions taken on your website, etc., using numerous available variables or your own.
Things to know before you start:
- Segments are based on user data you provide to Wooxy via API, by adding manually, or by file import. In addition to data provided by customers, Wooxy collects behavioral user data which also can be used for segmentation.
- You can set as many Groups of conditions as you want.
- The number of conditions in a Group is unlimited.
- The changing of the And\Or operators can occur inside each Group separately, regardless of the external add-ons of Groups.
- Please note that you need to wait while the Segment is being recalculated. This is often related to the size of the Contact List or recalculation queues.
- If a Segment is not included in Automation, it won't be updated automatically. You will need to do it manually either on the segment lists page or within the Segment itself.
- If a Segment is included in Automation, the system will periodically recalculate the Segment. Also, before sending communication, the system will automatically recheck contacts for compliance with conditions and send the communication only to those contacts.
- The Segment does not display the exact number of contacts. Contacts could be updated (added or removed) from the Segment every second. The segment lists page shows the current number of contacts exactly at the moment of the last recalculation.
- Remember to manually recalculate the Segment if you've added new contacts to the Contact List or updated their information. If the contacts meet the Segment conditions but aren't appearing, try adding a test contact and check if it's added to the Segment. If this doesn't work, please report it to us directly for further investigation via support@wooxy.com.
- If a contact is not activated in the Contact List, then it will not be included in the Segment even if it meets all conditions.
- You can include or exclude contacts via a one-time Segment in the same way as you would using previously created Segments. Set up a one-time Segment by selecting the "Add filter" option during Campaign creation. NOTE: The Segment will not be saved in the list of Segments. These sets of conditions only apply to that particular Campaign.
Create a new Segment
Step-by-step instructions:
Navigate to the Segments Management page (Menu->Audience->Segments).
Click on the “Create” button.
Find and select the Contact List from the drop-down menu to be segmented.
Type in the name of the Segment.
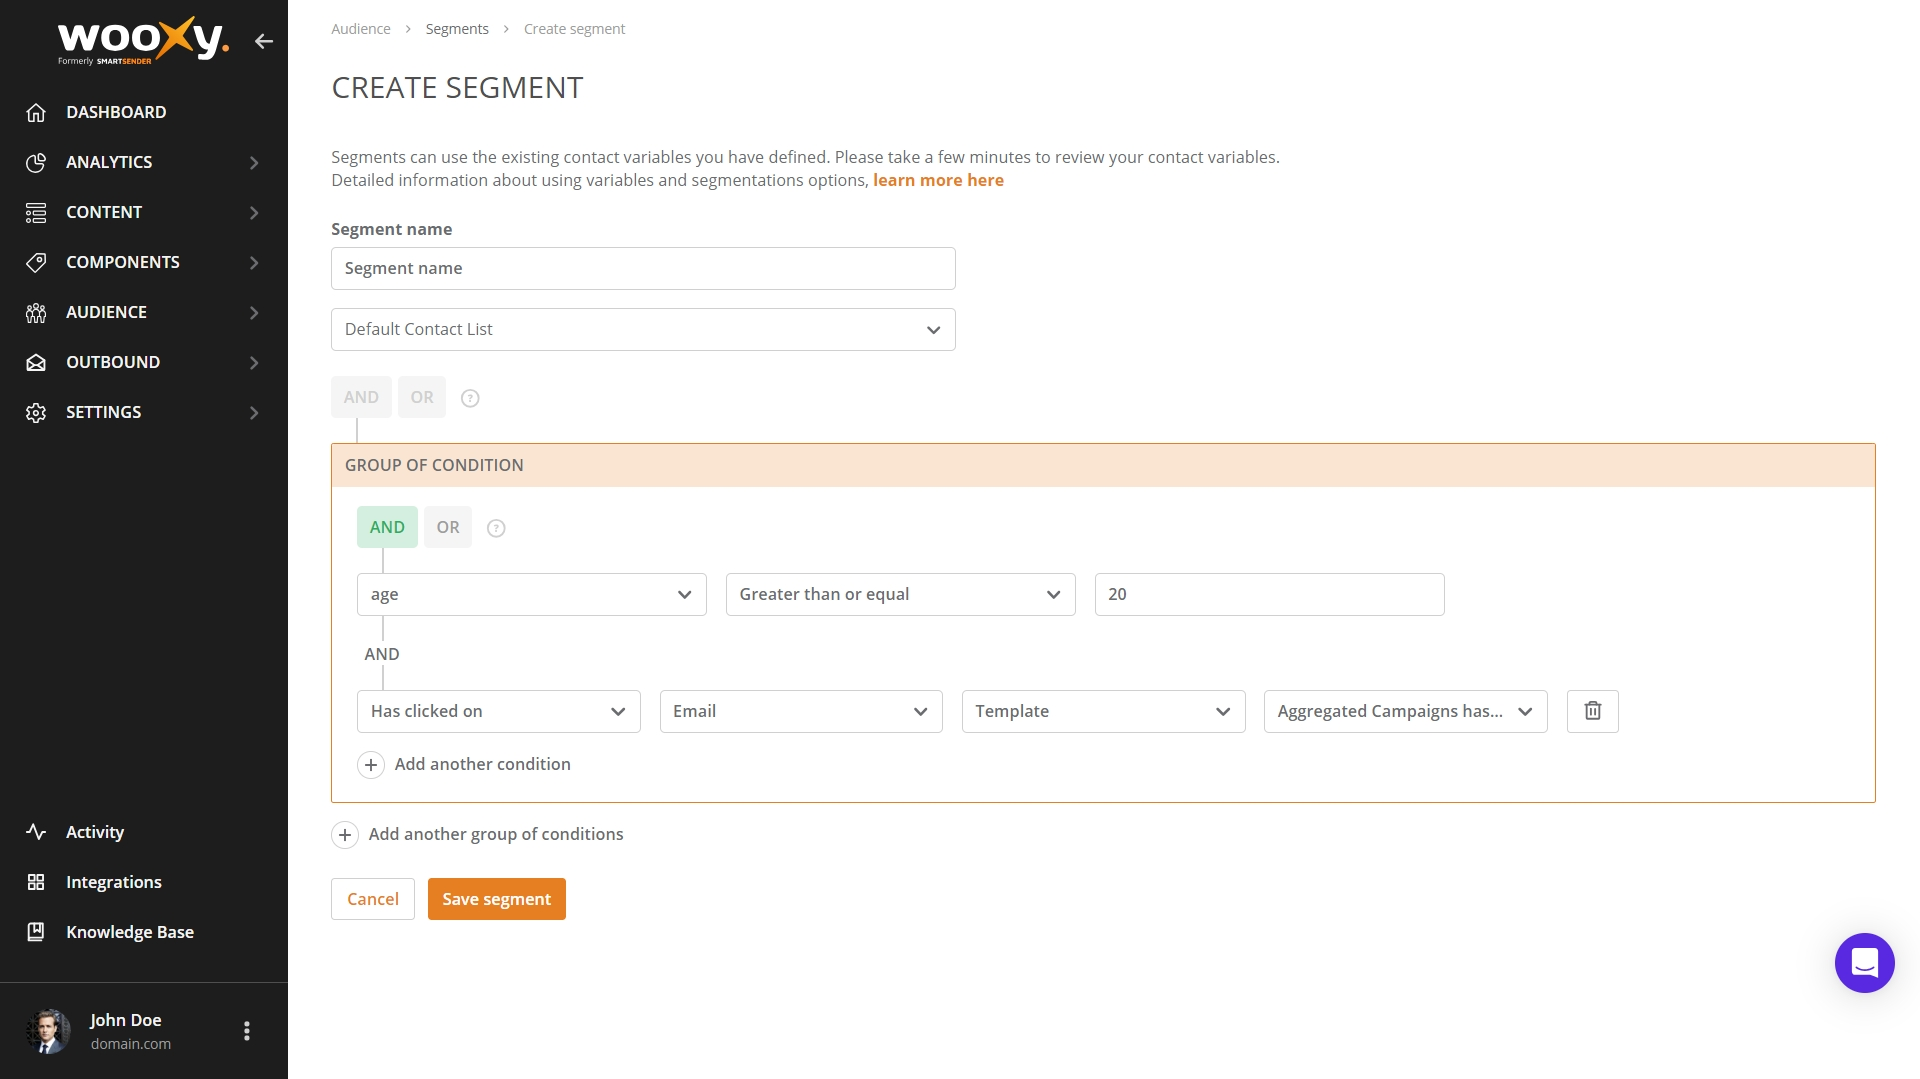
Set up the filters and conditions in the Group by selecting each from the drop-down menu. Get acquainted with the segmentation rules.
Press the “Save Segment” button.
Segmentation Categories
| Category | Description |
| Variables | Custom Variables created for the selected Contact List. |
| Contact Fields | Contact's basic information for standard service variables that exist in the Wooxy platform. |
| Subscription | Filter contacts who are subscribed or unsubscribed to a specific channel. |
| Marketing | Group contacts based on the source where they were obtained. |
| Demography | Set the filters to group contacts by their demographic affiliation. |
| Social Networks | Sort based on the social networks where your contacts have accounts. |
| Geography | Group by the contact's timezone. |
| Engagement | Segment options are based on user reaction to communication. |
| Behavior | Behavioral segmentation using events categorizes users based on their interactions, distinguishing between simple events and conversion events. |

NOTE:
- Groups are multi-filtered. It means that you can choose one of the operators described below:
- Use the "AND" operator if you want to group your contacts who match all the filter conditions.
- Use the "OR" operator to group contacts who match any of the filter conditions.
- When more than one Group of filters is created, additional AND and OR conditions are activated so you can use them on existing Groups in the Segment. Change the operator at the top of the Segment’s settings.
Manage Segments
Navigate to the Segments Management page (Menu->Audience->Segments).
Sort Segments by name.
Search Segments by name and by ID.
The Segment name is clickable. Click will take you to the list of contacts that match the Segment conditions along with their details.
The "Contacts" column shows the number of contacts in the specific Segment and the date it was last updated.
The Contact List name is clickable. Press to move to the Contact List, which is used for segmentation.
Press the “Edit” button to change the Segment settings and conditions.
Press the “Recalculate” button to update the number of contacts in the Segment.
Press the “Info” button to get acquainted with the Segment details.
By pressing the “More” button the following actions will be available:
- Download – a file prepared with the Segment details and the list of contacts that match the Segment conditions. You can find and download it in the Activity section from the Import/Export tab.
- Manage tags – add or delete the tags for the Segment. Tags help you organize Analytics reports. If you use the same Segment for different mailings, tagging will help you track and review their performance in the aggregated report.
- Delete – removes the Segment without a recovery option. NOTE: The Segment could also be deleted by putting the check mark next to the Segment’s row and pressing the delete icon at the top.
Click on the Segment name to get acquainted with its components. Here you can find all the contacts that match the Segment settings, along with their detailed data.
- The contact identifiers are placed on the left side of the table.
- The contact name is clickable. You will be moved to the contact’s profile. NOTE: The profiles are only available for those contacts who are from the Default Contact List.
- The contact subscription/unsubscription statuses to all existing channels are displayed next to the contact identifiers.
- All the available contact variables with their values are also displayed in this table.
- You can change the width of the columns by dragging them using the handy tool in the form of double arrows.
- Press the button in the column header to open the drag-down menu in case you want to pin/unpin the column or hide it.
Mark the checkbox next to the contact to open the additional action bar for him.
- Status – activate or deactivate the contact.
- Subscribe – activate the permission to get communication through a specific channel.
- Unsubscribe – deactivate the permission to get communication through a specific channel.
- Change variable value – Select a variable, and the new value will be applied to all selected contacts.
- Delete – the contact will be deleted from this Segment and simultaneously from the corresponding Contact List without the recovery option. If you want to exclude the contact from the Segment - add new conditions to the Segment, or change the values of data due to which the contact entered the Segment.
Press the count information button. Further information will be displayed:
- Last updated -The date and time of the contacts recalculation in the Segment according to the account’s time zone. You can update the number of contacts at any time by pressing the round arrow button.
- Total in Segment – the number of contacts who match the segment filters and conditions.
- Email subscribed – the number of contacts in the Segment who are subscribed to get communication through the Email channel.
- SMS subscribed – the number of contacts in the Segment who are subscribed to get communication through the SMS channel.
- Desktop Web Push subscribed – the number of contacts in the Segment who are subscribed to get communication through the Desktop Web Push channel.
- Mobile Web Push subscribed – the number of contacts in the Segment who are subscribed to get communication through the Mobile Web Push channel.
- Telegram subscribed – the number of contacts in the Segment who are subscribed to get communication through the Telegram channel.
- Blacklisted Emails – the number of email addresses in the Segment that are currently in the Email Blacklist section.
- Blacklisted Phones – the number of phone numbers in the Segment that is currently in the Phone Blacklist section.
- Blacklisted Viber - the number of contacts in the Segment that is currently in the Viber Blacklist section.
- Desktop Web Push Declined – the number of contacts who saw your notifications display request but did not allow to get Desktop Web Push notifications from you.
- Mobile Web Push Declined – the number of contacts who saw your notifications display request but did not allow to get Mobile Web Push notifications from you.
- Segment conditions – all groups of filters and conditions are displayed here.
Press the “Edit Segment” button to change the Segment settings and conditions.
Press the “Display settings” button. You can choose metrics to display here by choosing the check mark next to the variable name.
Press the “Export Segment” button. The file with the contacts who match the segment filters and conditions will be available for downloading in the Activity section by pressing the Import/Export tab.
The Segment details
| Parameter | Description | |
| Segment name | The name of the Segment and its ID. | |
| Creation date | The time and date of when the Segment was created according to the time zone of the account. | |
| Status | Ready | Means that the Segment recalculation is already finished. |
| Failed | Means that Segment recalculation was not successful. | |
| Processing | Means that Segment recalculation is ongoing. It may take a while if there are a lot of contacts in the selected Contact List. | |
| Tags | The list of tags that are included in the Segment. | |
| Segment Groups and conditions | Here you can quickly check all the conditions you set in the Segment and also the associations between them and between Groups. The And/Or operators show whether all conditions are mandatory or only one of them. | |
Segmenting examples
Wooxy offers numerous segmenting options based on user behavior and reaction to a communication sent via our platform, so you can make the most out of your audience. Here are some examples of Segments you can create.
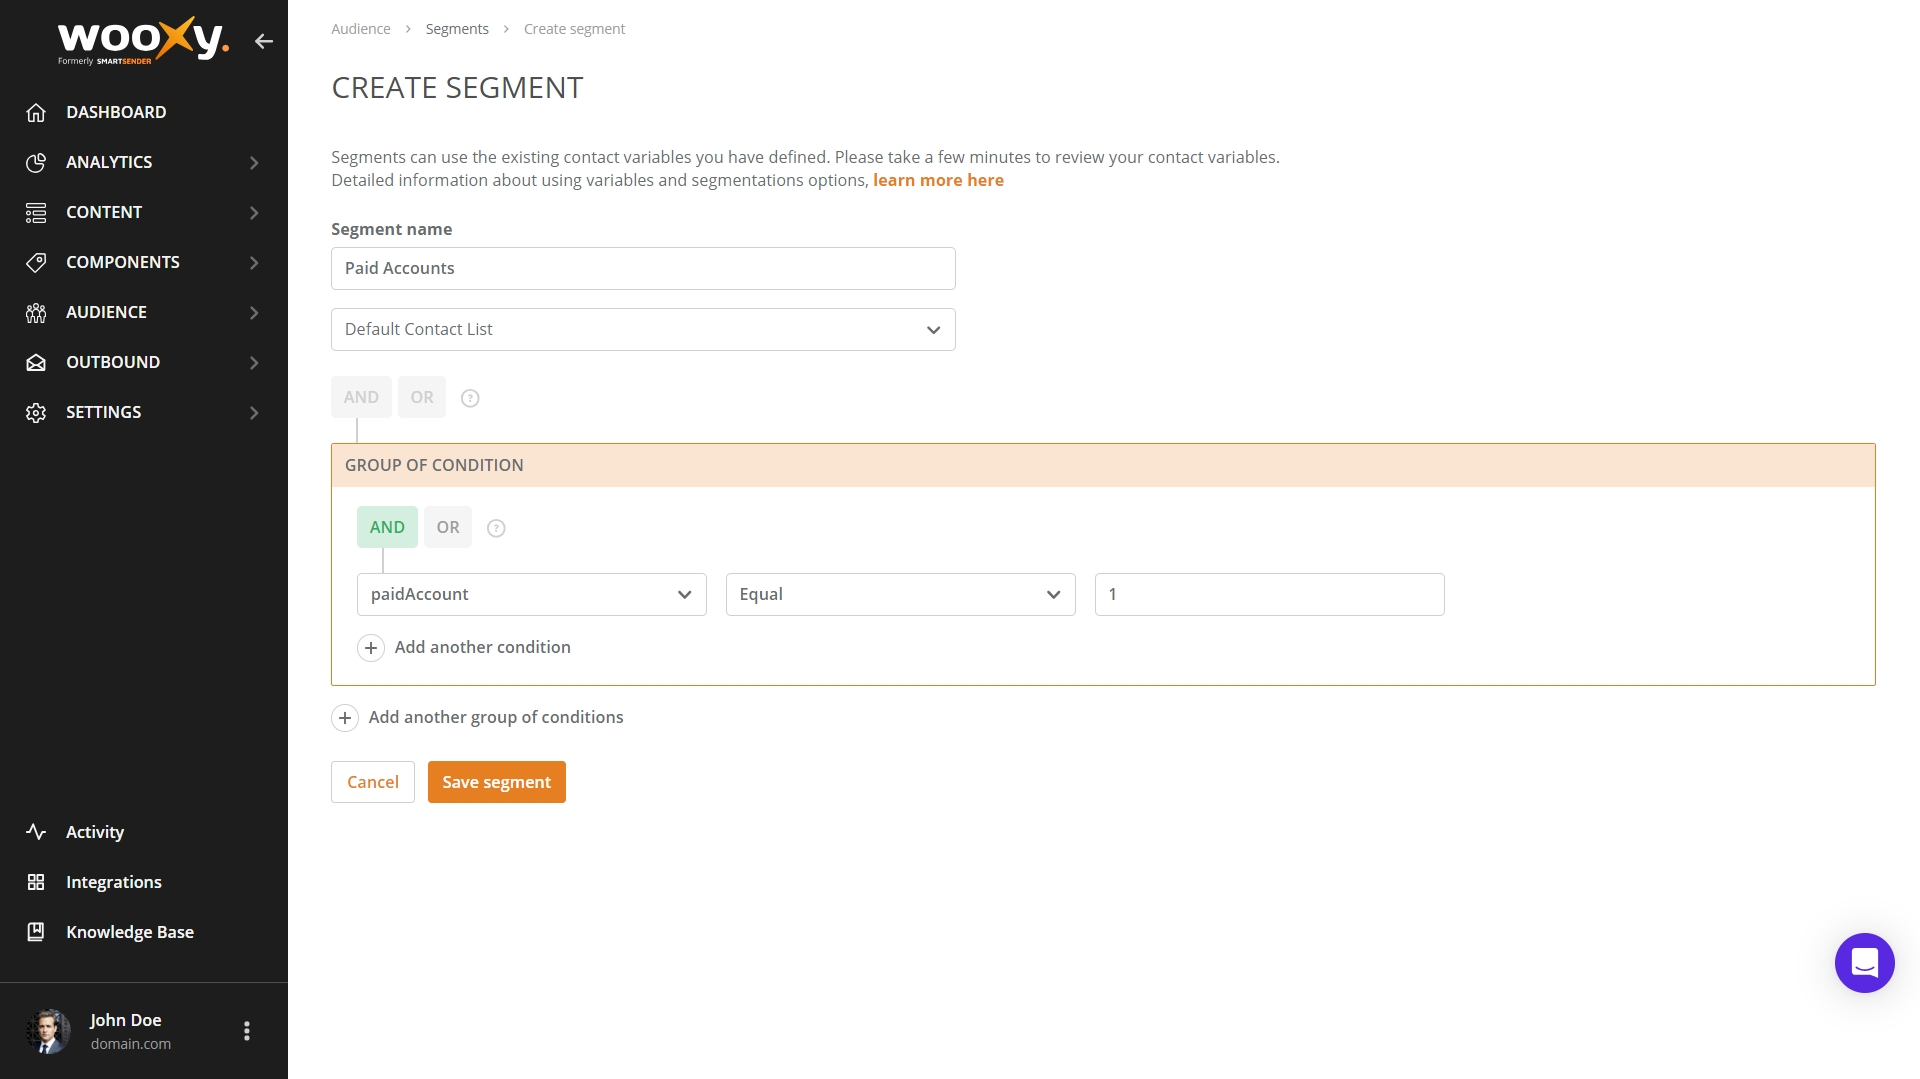
- Create the Segment based on any variable. For example, you can create a custom variable named "paidAccount" and update it with the "1" value in the Contact List immediately after your customers make at least one payment on your platform. This will allow you to group your paying customers in the current Segment and propose promo codes to this audience pushing the next purchase. As a result, it may increase interactions and sales.

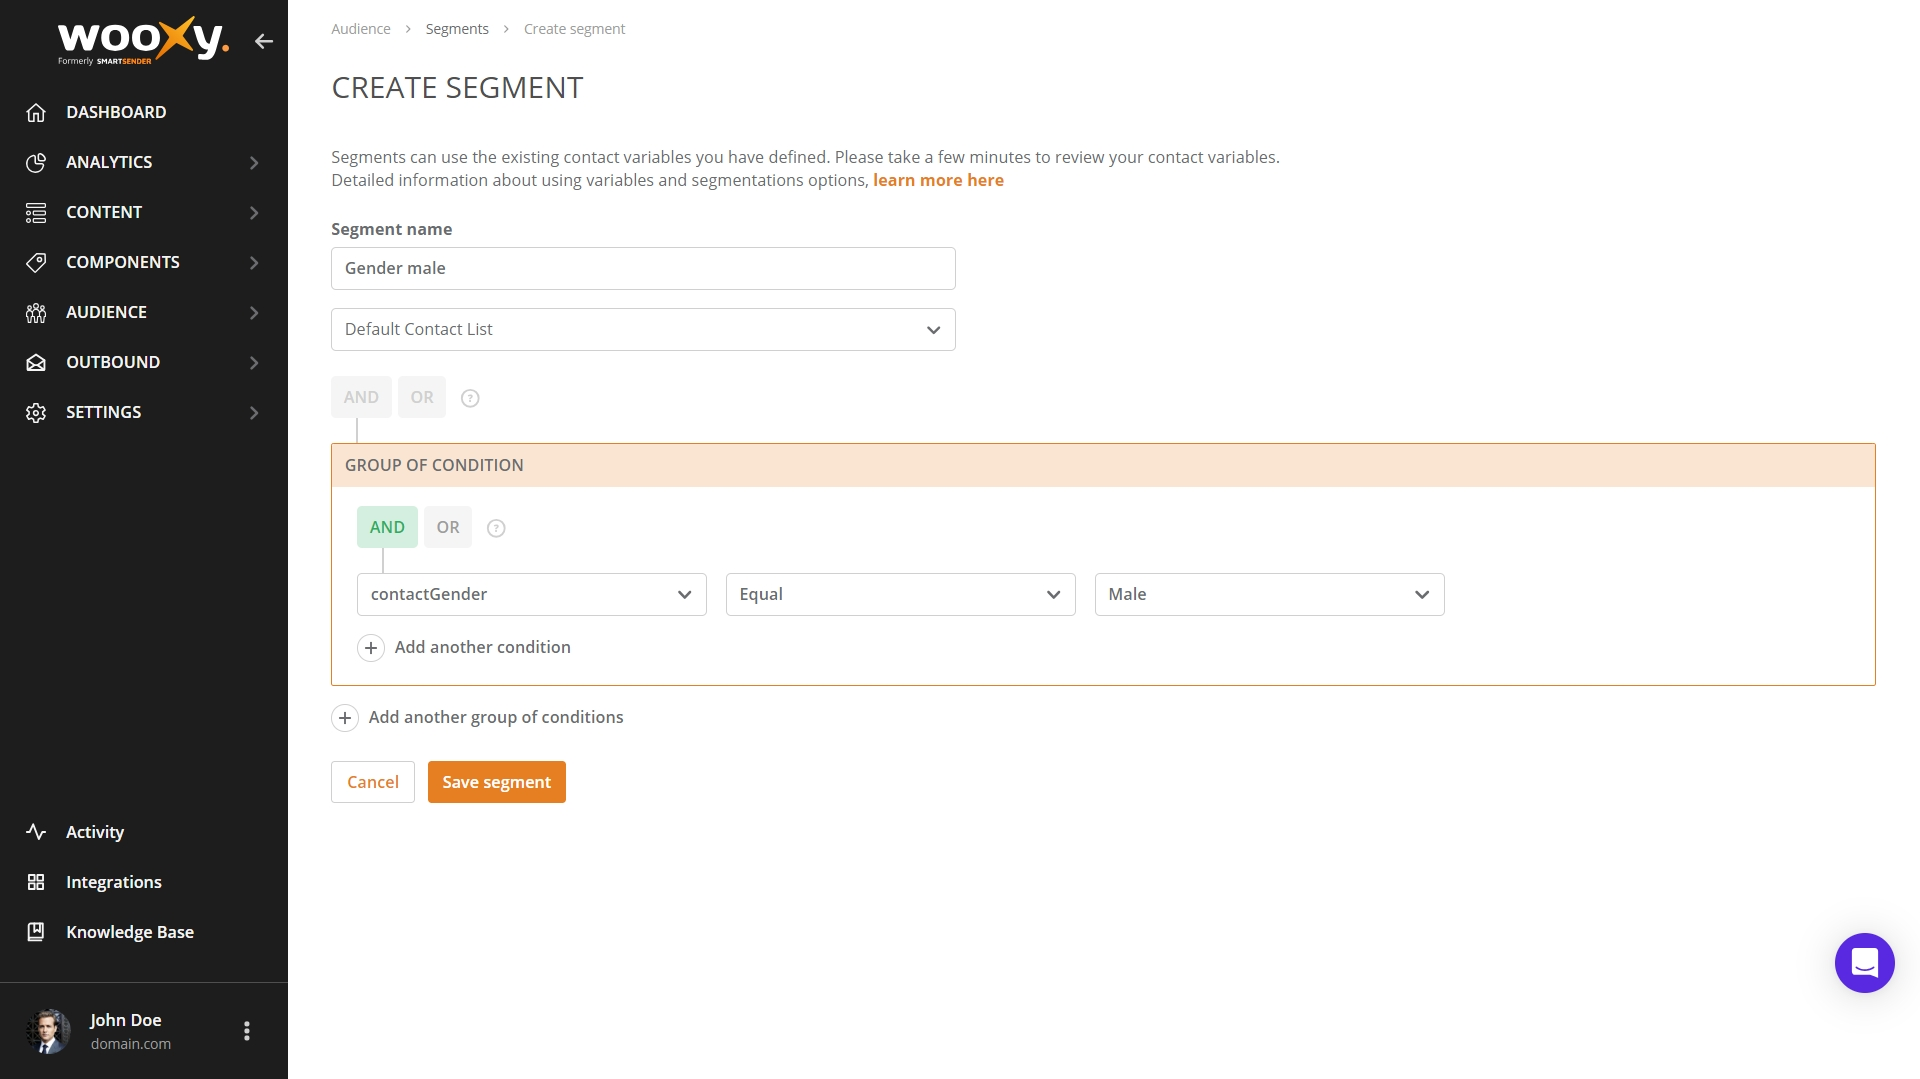
- Sort your audience by gender to send personalized offers. In case you have manifold products - the part of it may be more attractive for one of the sexes.

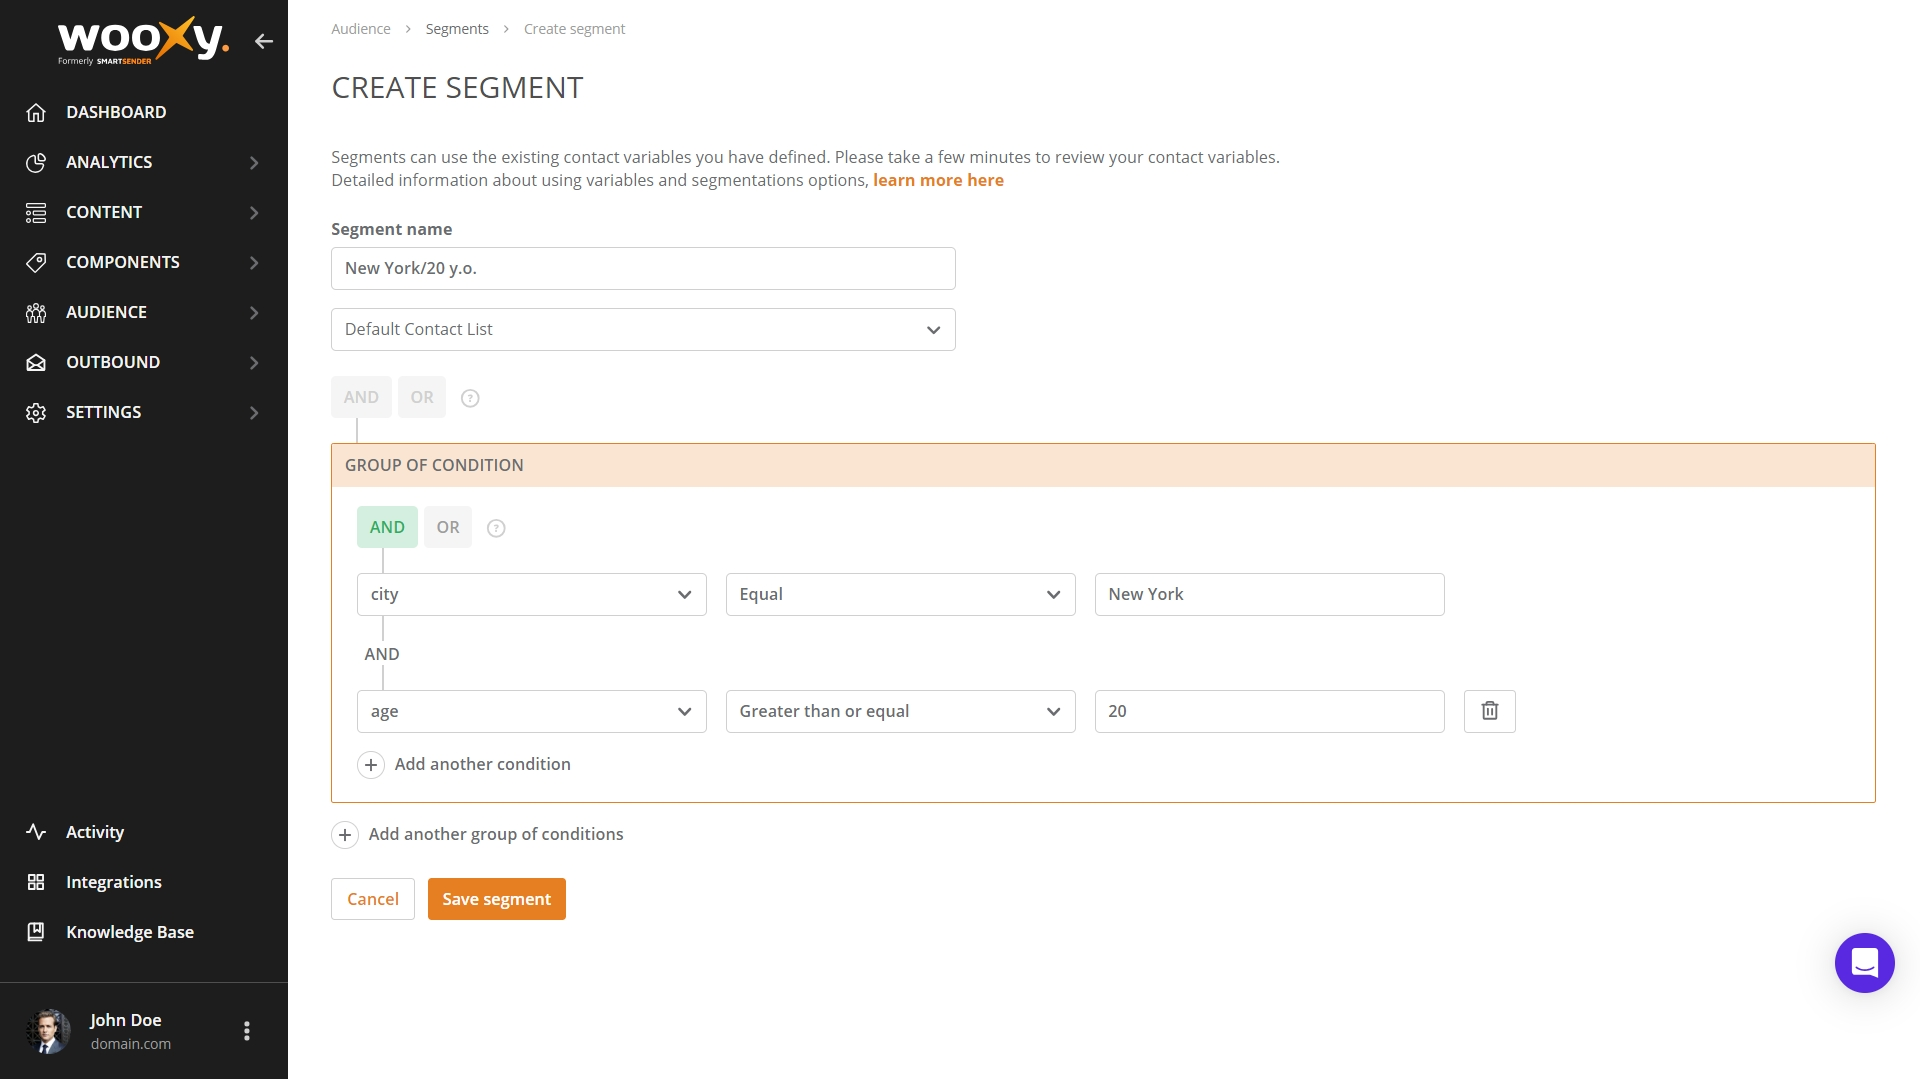
- Create the multi-filter Segment to narrow the part of the audience. For example, you want to send your Campaign only to those who are living in New York city and have an age of 20 or higher. Just create the Segment with the appropriate filters using the "AND" operator between the groups of specified conditions.

Our segmentation tools make it easy to target customers most likely to engage with your messages and convert. Tailor your messaging to address particular customer behaviors and engagement, ensuring your communications remain pertinent and your customers remain primed to buy your product or pay for your services.


